Change Profile folder location in Outlook 2016 for Mac
The new Office for Mac is great. True to Microsoft's claims, the latest bundle of productivity apps is indeed "Unmistakably Office, designed for Mac."[1].
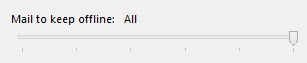
Office 2016 implemented several new OS X's APIs, including Sandboxing (mandatory for Mac App Store apps, which Office isn't). Sandboxing apps that don't need access to the whole file system is certainly a step in the right direction, however in this case it also brings an inconvenient limitation to the Outlook 2016 - it is no longer possible to easily move Profile (previously called Identity) to a new location (e.g. different drive). To add insult to injury, Outlook for Mac does not have the "Mail to keep offline" feature of its Windows counterpart, which allows to select time range of e-mails to keep cached locally[2]. That can be troublesome if you have a huge mailbox and not so big SSD in your Macbook.
Luckily, there is a way to move the Outlook Profile folder away to a different Volume (e.g. a moderately fast SDXD card adapter like TarDisk).
The following step-by-step guide explains in great detail how to manually reach our goal. If you're more of a script person and you prefer computers working for you rather than the other way around, have a look at my Gist that contains a Shell script that will do all the work for you.
Script in action:
Manual approach:
-
Step 1: Find the Outlook binary and copy it to Desktop.
It should be located here:
/Applications/Microsoft Outlook.app/Contents/MacOS/Microsoft Outlook -
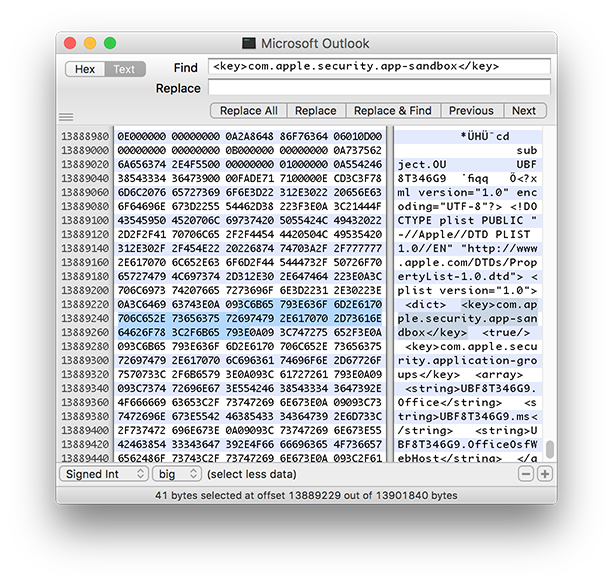
Step 2: Open the binary in hex editor (e.g. Hex Fiend) and search for:
<key>com.apple.security.app-sandbox</key>
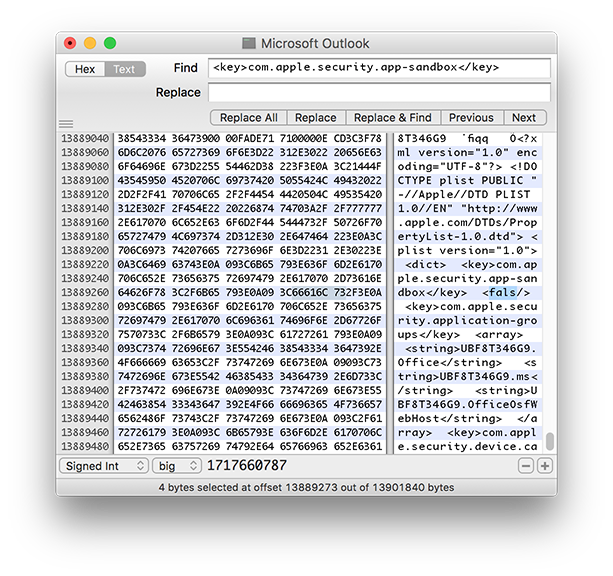
- Step 3: Replace the subsequent
<true/>with<fals/>and save changes. You might be asking why are we changing the value to<fals/>and not<false/>. The reason is that when changing text strings inside compiled binaries, replacing a string with another one that is longer than the original is asking for trouble. Using incomplete flag is much better thank using 1 more letter than the original string used.
-
Step 4: Copy the modified binary back to the Outlook.app bundle (keeping a backup copy of unmodified binary is highly recommended)
-
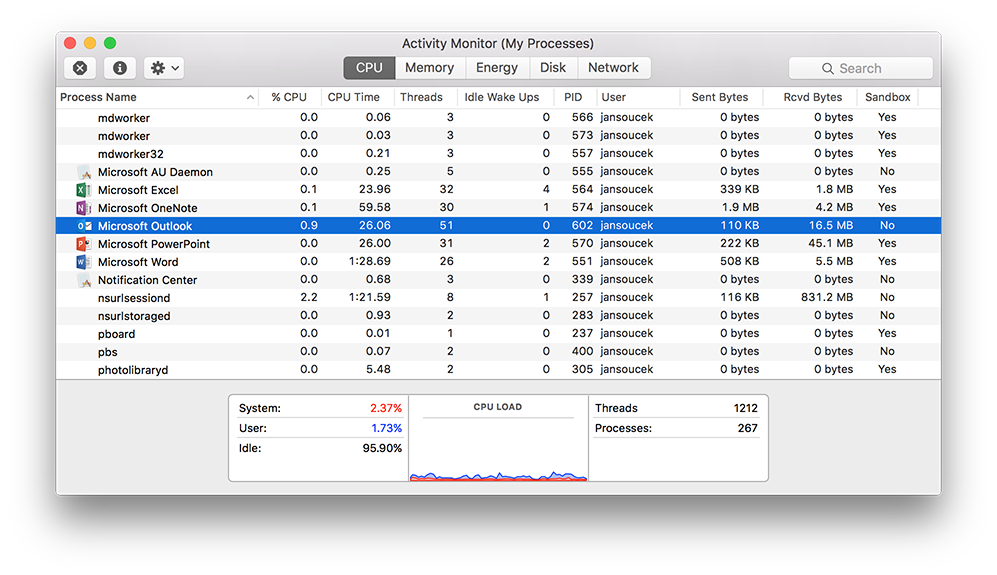
Step 5: Launch Outlook and check in Activity Monitor that Outlook is now running un-sandboxed
-
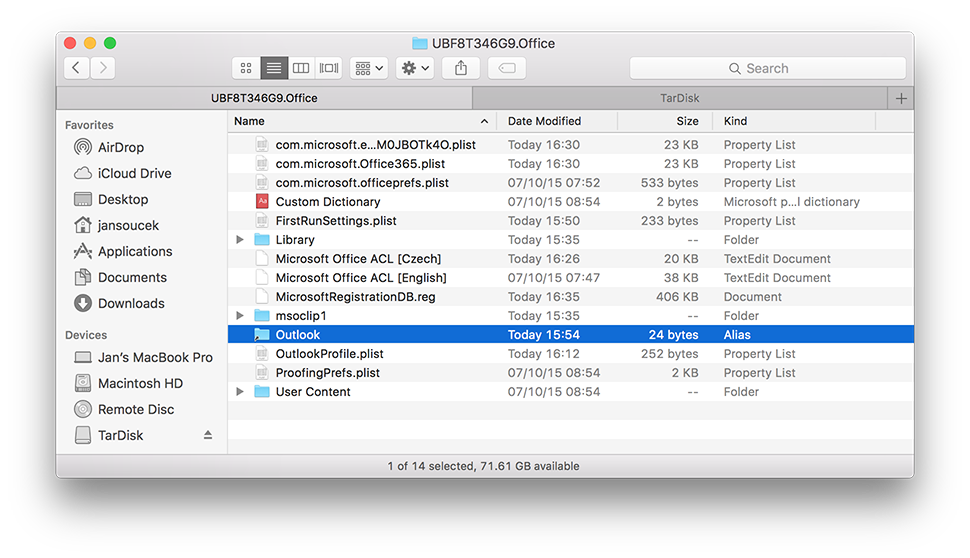
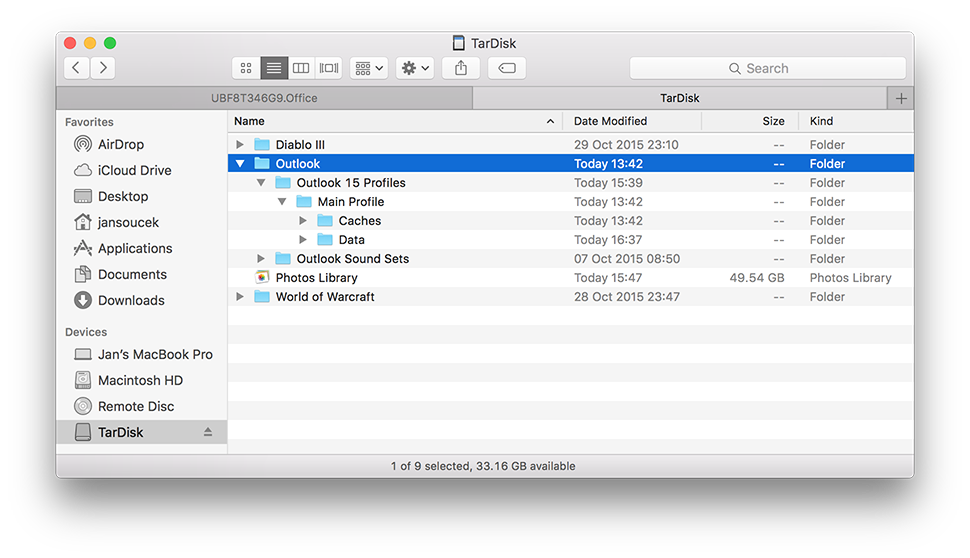
Step 6: Close Outlook and move following folder to its new location:
/Users/<username>/Library/Group Containers/UBF8T346G9.Office/Outlook -
Step 7: In place of the original folder, create a symbolic link called
Outlookpointing to the new destination.
To do that, modify and run following command from Terminal:
ln -s "/Volumes/TarDisk/Outlook" "/Users/<username>/Library/Group Containers/UBF8T346G9.Office/Outlook"
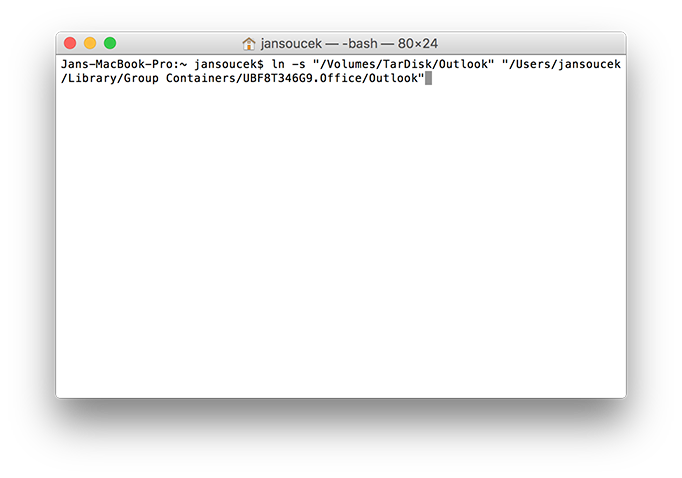
^^ Old location (in Library)
^^ New location (on the Volume you're moving the folder to)
Congratulations, you've successfully moved your Outlook Profile folder away from the default location.
However, I recommend you to keep reading after the notes!
Notes:
-
First 4 steps will need to be repeated every time Outlook's binary gets replaced during an update.
-
Why isn't creating a symlink enough? Because sandboxed applications are allowed to access only pre-defined folders (Group Containers) and OS will not let them exit these folders using workarounds like symlinks.
Ok, so we now have Outlook running un-sanboxed.
However, we've also corrupted the app's signature in the process and that brings some consequences - specifically the fact that Outlook now cannot access keychain. If you have just one account or if you don't store your IMAP credentials in OS X's keychain at all, that does not have to bother you.
If you use Outlook with several accounts (like me) and you don't like the idea of typing all the passwords every time you startup Outlook, continue reading.
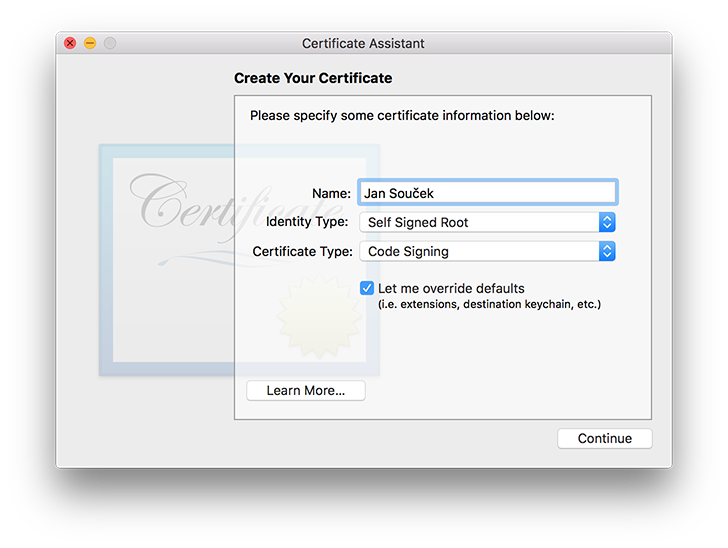
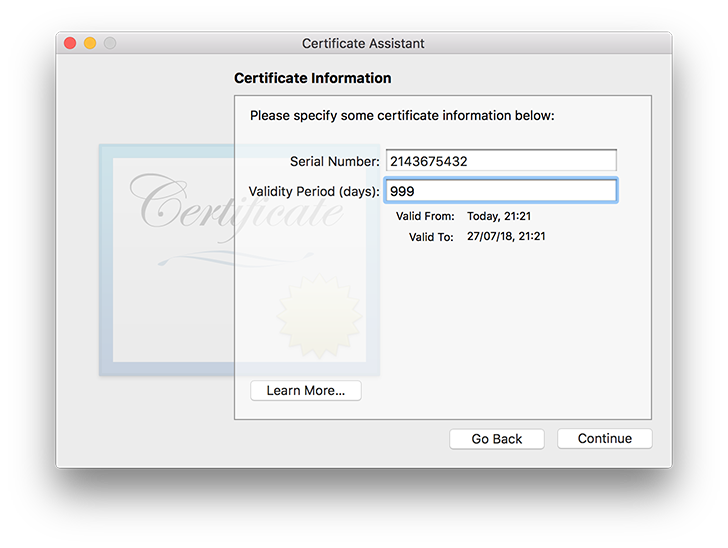
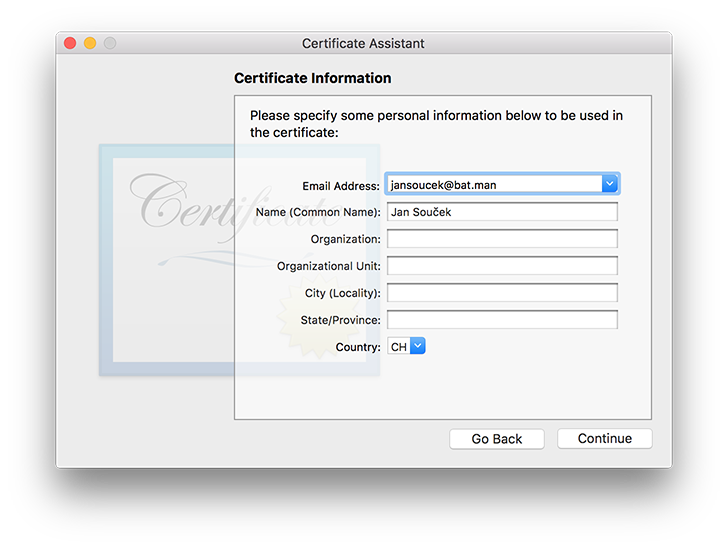
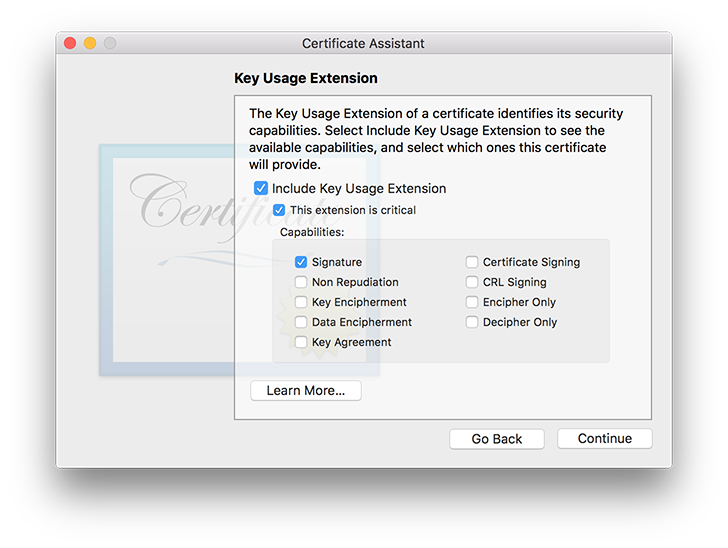
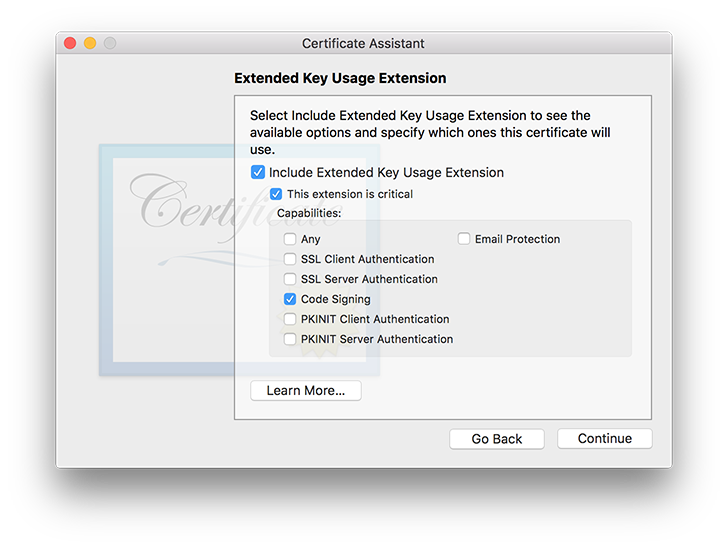
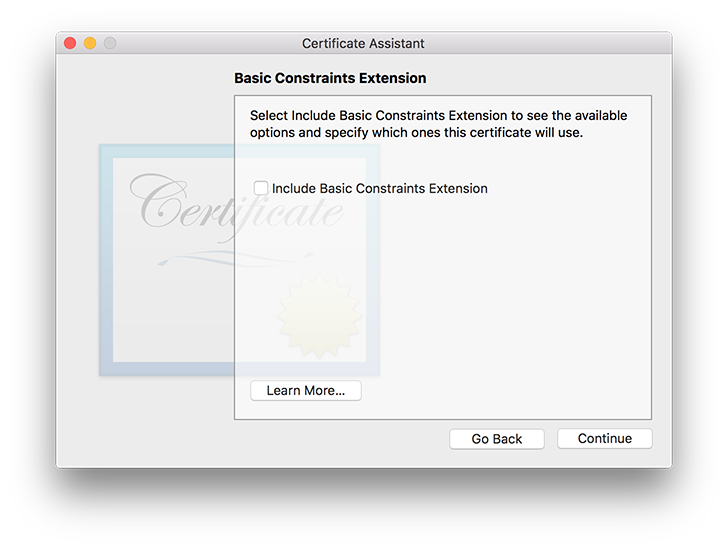
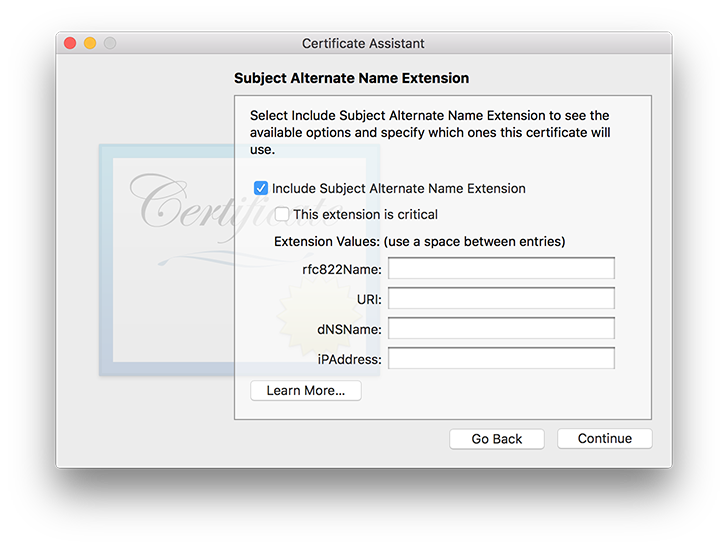
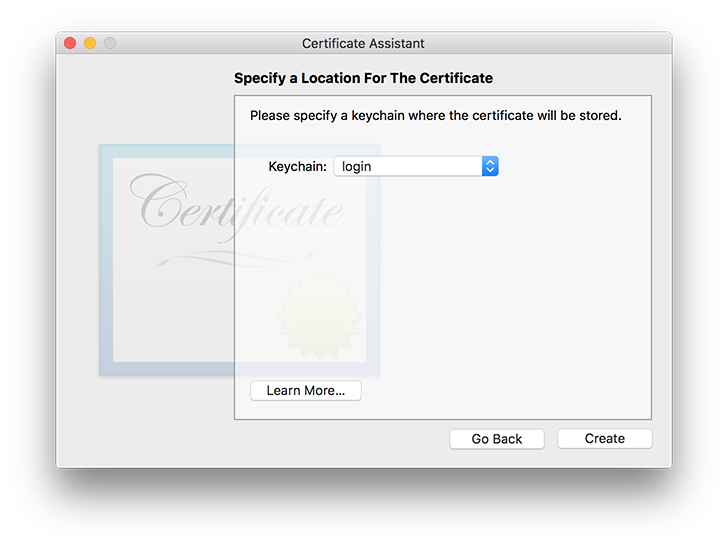
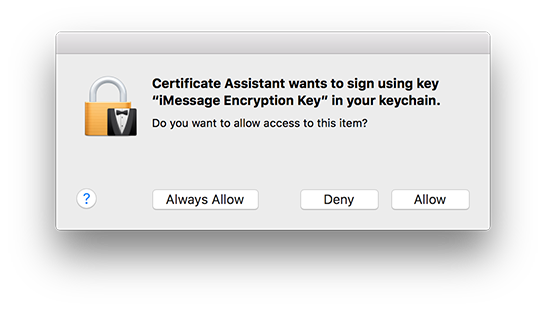
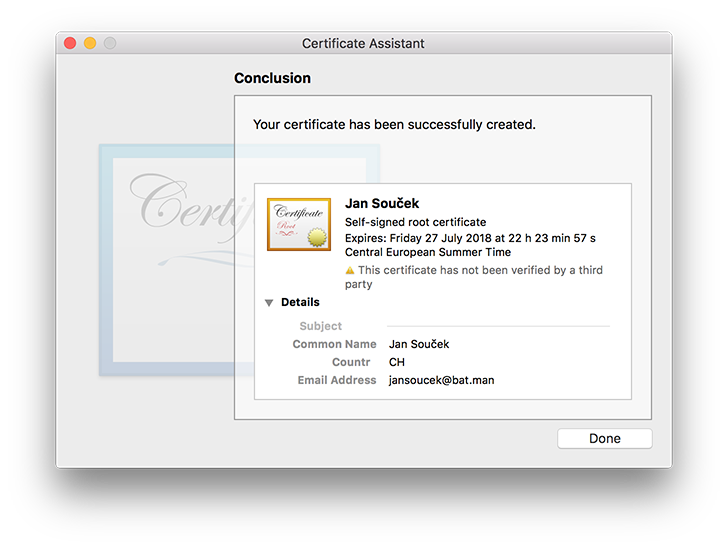
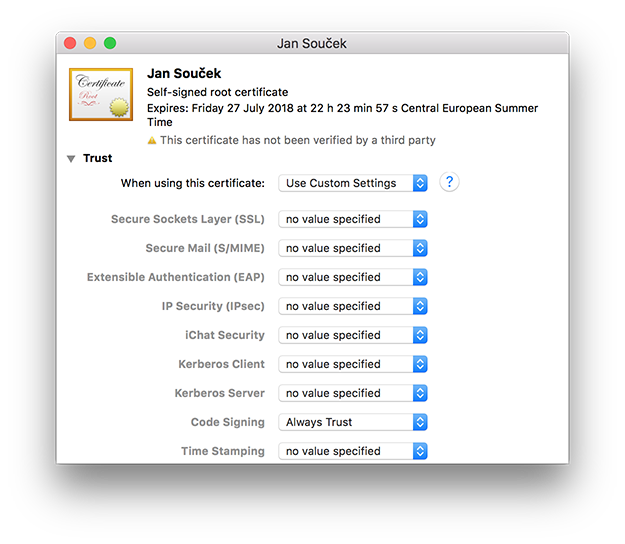
In order to re-sign Outlook with our own code-signing certificate, we first need to create one.
You can create your own certificate in about 2 minutes for free directly from OS X's Keychain Access utility. Follow a short (and slightly out-dated) step-by-step guide here. For the sake of completeness, I am including screenshots of all steps taken on OS X El Capitan below.
More text will follow.
After the certificate is created, we can sign our modified binary of Outlook with it.
If you open Terminal and verify Outlook's signature at this point, it will be reported as invalid (and rightly so).
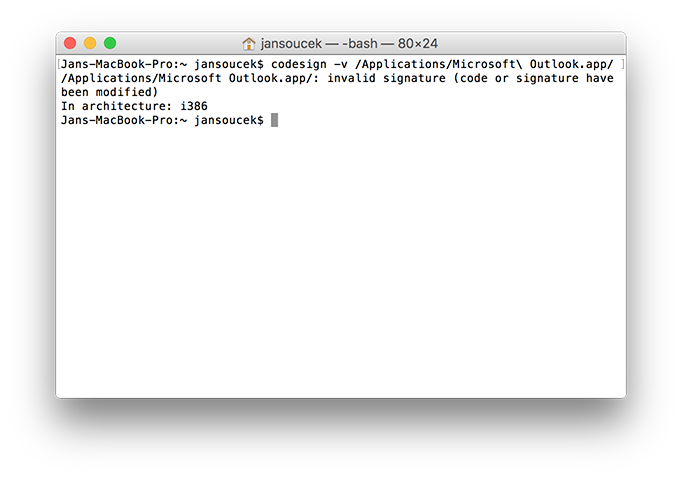
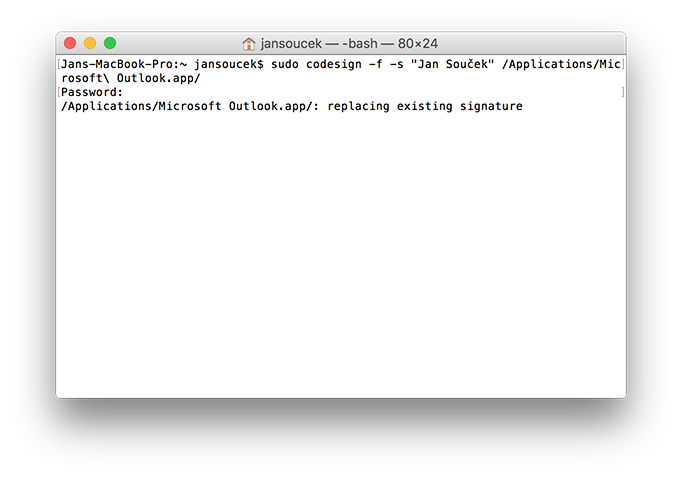
To sign the binary, copy and paste following command to Terminal and replace the certificate name with a name you chose while creating the certificate:
sudo codesign -f -s "CERIFICATE NAME HERE" /Applications/Microsoft\ Outlook.app/
When done, you can verify that the app is signed properly by running the following code:
sudo codesign -v /Applications/Microsoft\ Outlook.app/
If you receive no output, that means the app's signature is valid and Outlook can now access the keychain once again.

That's it :) I recommend the scripted approach instead of doing everything manually with every update Outlook receives.